


Clip-Paths are a special CSS tool that isn't exactly necessary for a website, but it does provide a flavor. If you are fan of the idea of thought bubbles like you see in cartoons and comics, then let the Clip-Path win its way into your heart because it can hide information until the user is ready to interact with it.
First, why should we use it. Not only does it feel stylish and fun it can serve an additional purpose by helping prevent sensory overload. Its no secret that when some of us see walls of text (even in documentation) that our brain immediately tenses up and sometimes even shuts down. When designing a webpage with the user's experience in mind, you want to make everything as inviting as possible with just the right amount of stimulation. You know who is the best at understanding if they are going to be overstimulated... you guessed it, the user. By using Clip-Paths we can give the user control over how much content that they want to have presented to them at any point in time, especially if all they have to do is hover to reveal the text. As a result engagement with your content is therefore increased.
So, how does the Clip-Path work? Simple, it clips the content down into the size and shape you want. So if you have a 16x16, you can hide what you don't want the user to see by only showing them a corner of that box instead.
Examples
In the examples I have seen, it has been used primarily to hide information. Until an interaction is set up, it remains a particular object on screen, the most common shapes being a circles, insets, ellipse, and polygons. While there is an ability to create a "path", it seems to be fairly tricky to work with (I'm a beginner and haven't had the opportunity to create my own "path" yet). If you search on MDN in the Clip-Path page, they provide a great example of how you can use a path to create a custom shape for Clip-Path.
Depending on the time you are willing to invest in the manipulation of a Clip-Path path you can also create some nice logos.

While I don't personally plan on using the Clip-Path to create custom images, my use is primarily to allow users another way to interact with the web page on their own terms so that they can absorb the information being provided efficiently. Allowing such learning allows for a higher rate of retention as not only are they not overstimulated by this process but they are also participating in the act of discovery.
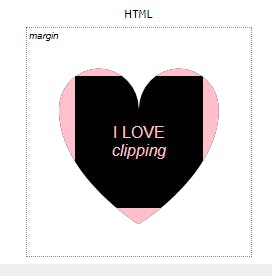
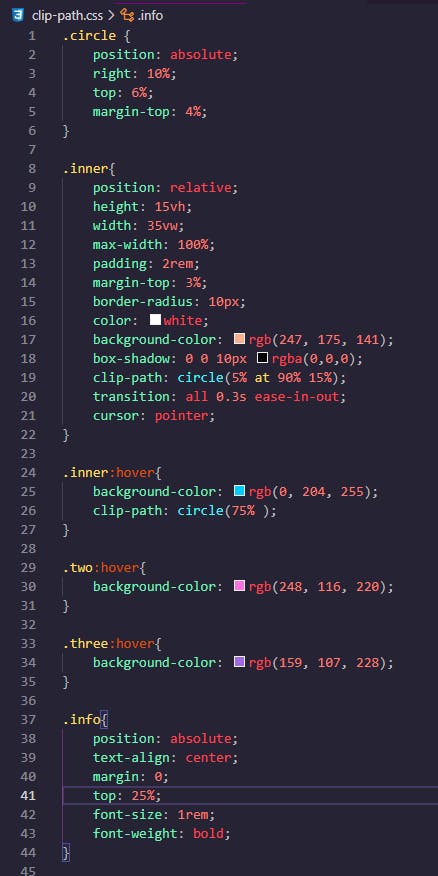
In the example below, I use the Clip-Path to obscure the text until it is hovered over, which will then reveal it. There are other ways that you can provide interactions such as clicking and scrolling, but I will allow you to take the time to discover those techniques and build ownership on this great tool.
Resources
If you are looking for a more detailed write up on the Clip-Path and all it has to offer I highly recommend the following resources.
Code Along
To watch how you can create an Clip-Path with an interaction, feel free to watch my brief code-along where I incorporate this feature into a dummy web page.
Repository for the Video can be found here:
Documentation
Link down below If you're interested in the documentation.
Written by: Orion Palmer